
The masquerade was this past Saturday night. I ended up making two masks, one for me and one for my friend Brandie. We met at Hobby Lobby last week to pick up supplies. Except most of the ingredients for my mask ended up coming from my back yard. :)
Here's what went into the mask-making process...
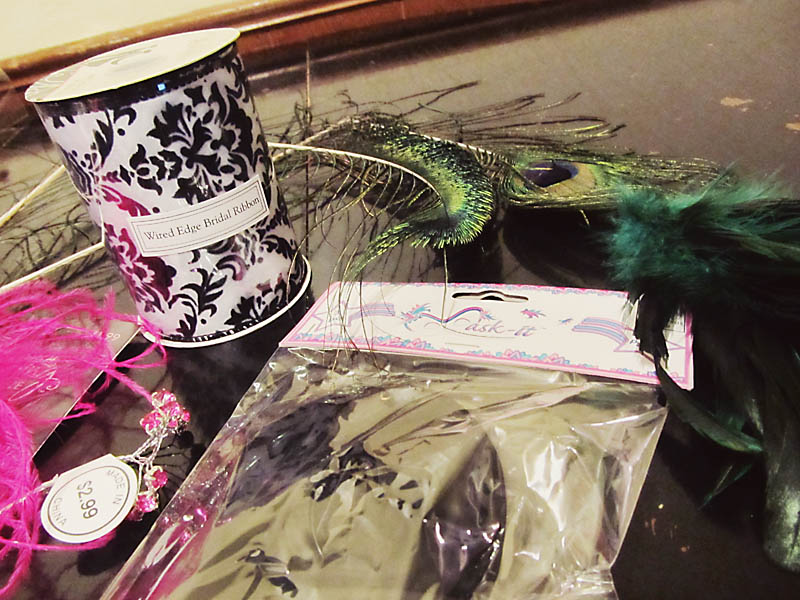
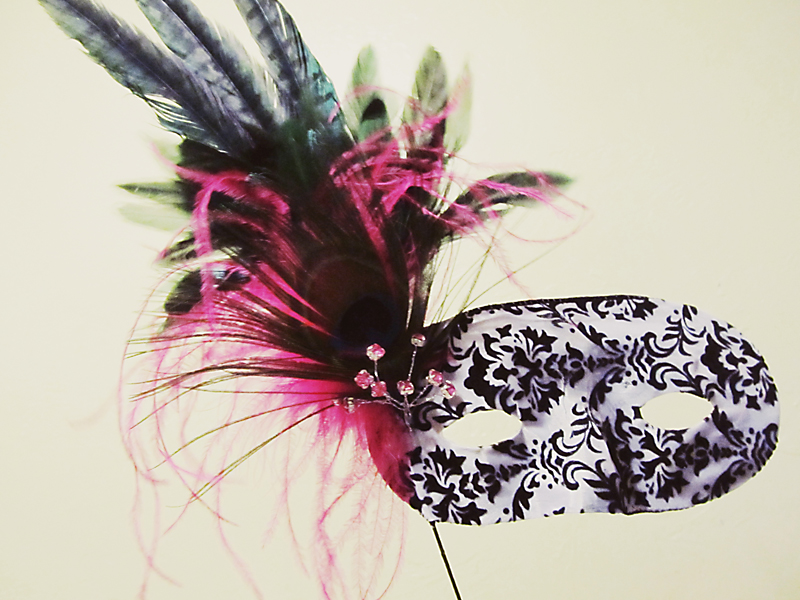
The key ingredients for Brandie's mask included:
~ a basic plastic mask {we picked up a pack of three at Hobby Lobby for a couple dollars}
~ some pretty, wide ribbon
~ some cool feathers
~ a few sparkly jewels
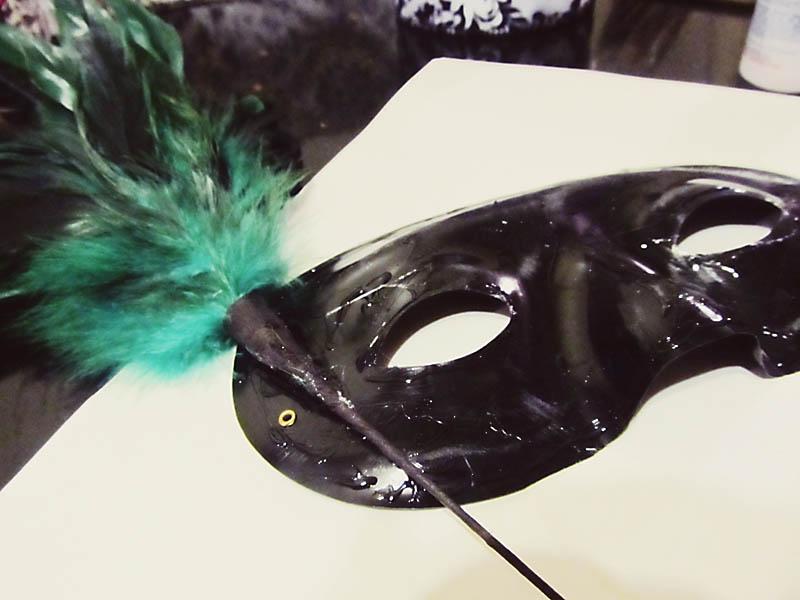
Basically, I detached the stretchy string from the mask, covered the front with glue, and first added the big plume of feathers on a stick.
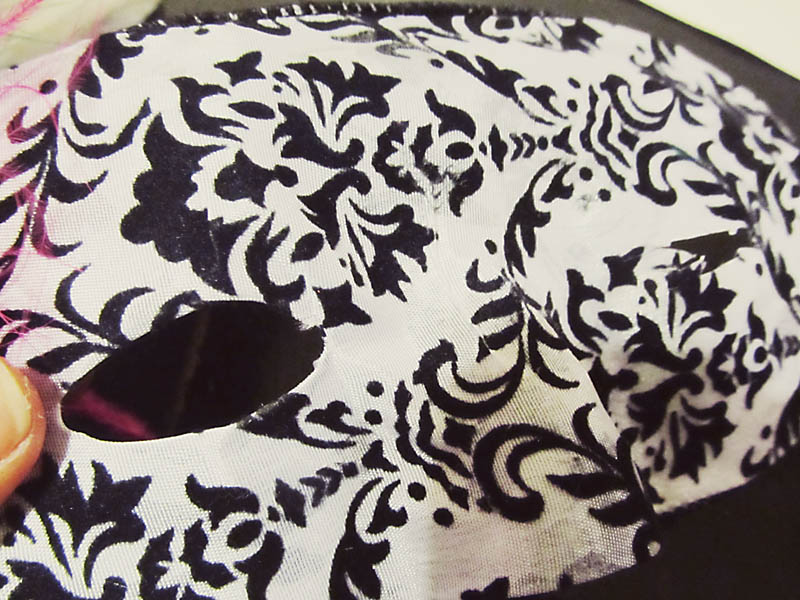
Then, working quickly before the glue dried, I covered the entire thing with the ribbon. I figured that gluing the ribbon over the stick would help it be more securely attached. After covering the whole thing, I cut into the fabric where the eye holes were, and then glued the edges to the back of the mask. I also trimmed around the outside of the mask and simply glued the edges of the ribbon to the back.
Next, I poked a tiny hole into the ribbon {next to the stick where it wasn't glued taut against the mask}, and I pushed the peacock feather quill down in between the ribbon and the mask. I also added a little glue to the quill before that.
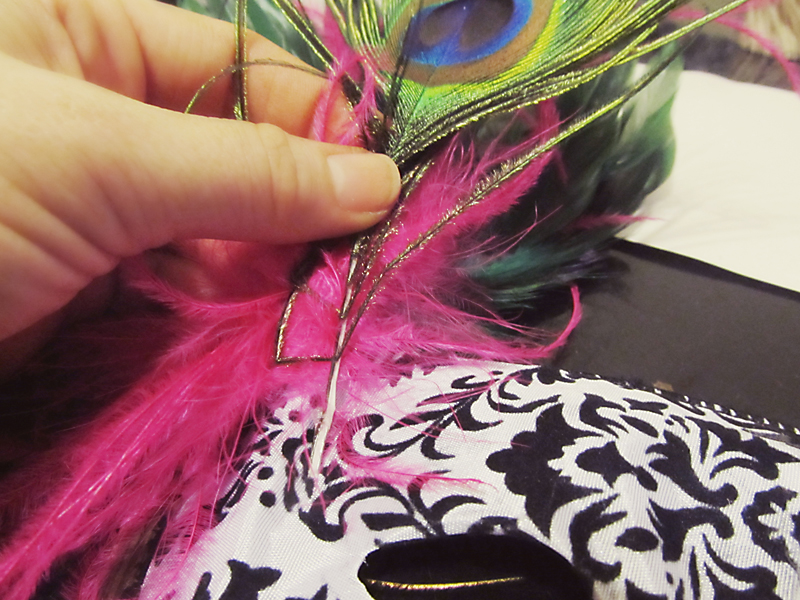
I added the jewels the same way.

Here's the finished product!
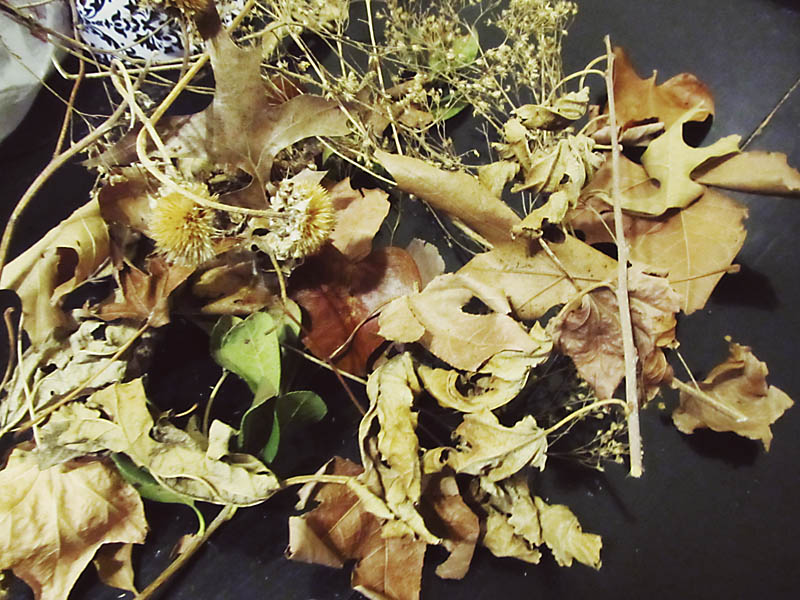
Here's the main ingredients for my mask, haha! I was going for a nature-y theme, obviously.
I decided I wanted some plumes coming up from the top, so I started with that.

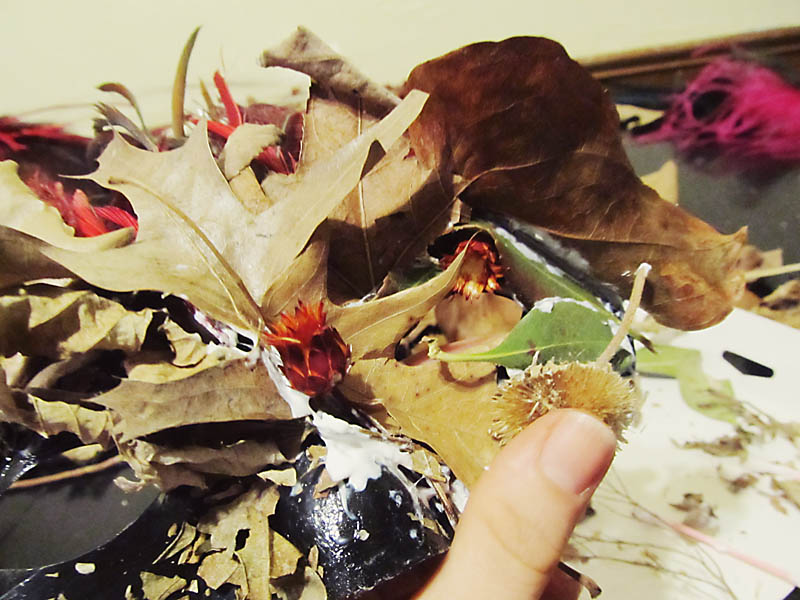
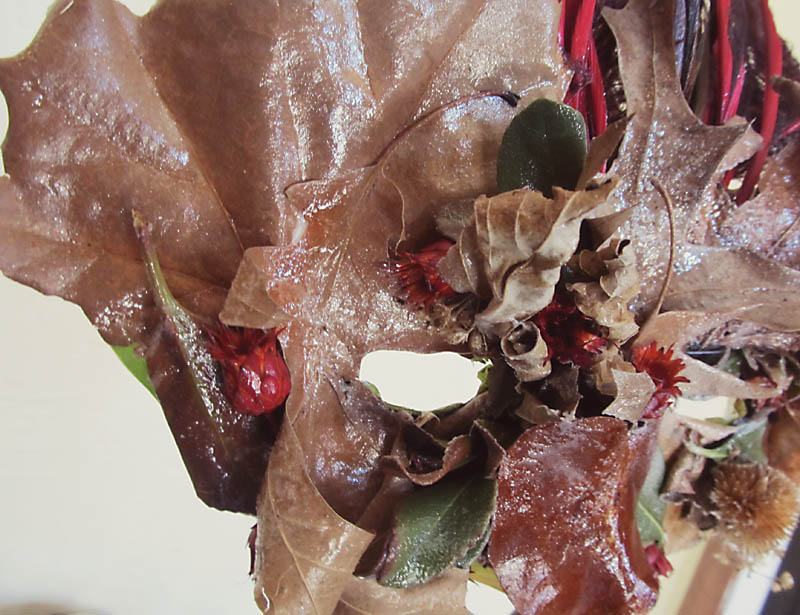
This is where I figured out how long and difficult this process was going to be. I wanted to completely hide the black of the mask, so at first I just crumbled up some dead leaves and scattered them over the glue-covered mask. I honestly wasn't sure how it would end up at this point. I usually don't have much of a plan when I start on stuff like this. I begin with a basic idea and then just see how it progresses.

From there out, I basically just kept adding more leaves and twigs and such, as well as more glue to make them all stick. I cannot even tell you how much glue I used! At least four different types of glue were used, and I couldn't really take more photos of the process, because my hands were completely saturated with glue!
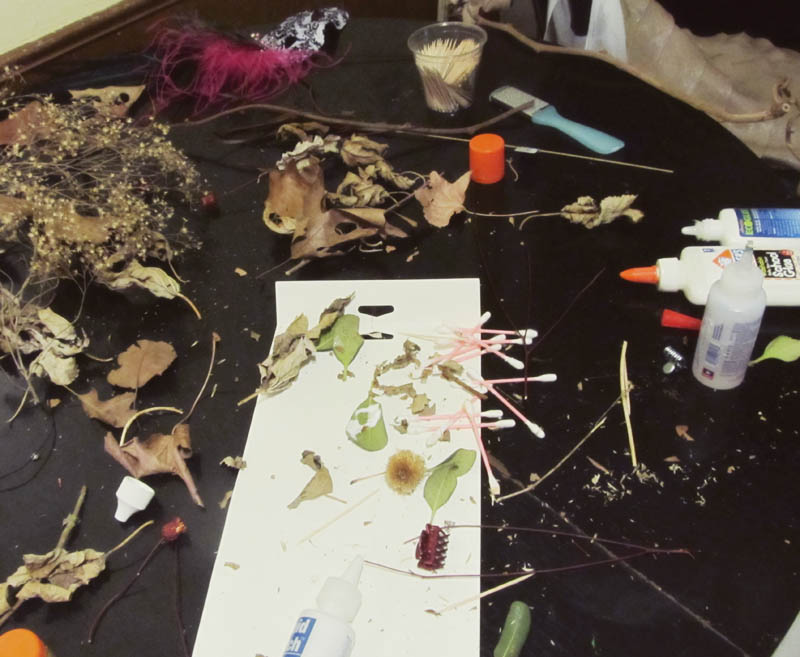
I ended up with a big mess, some empty glue bottles, some cuts on my hands...
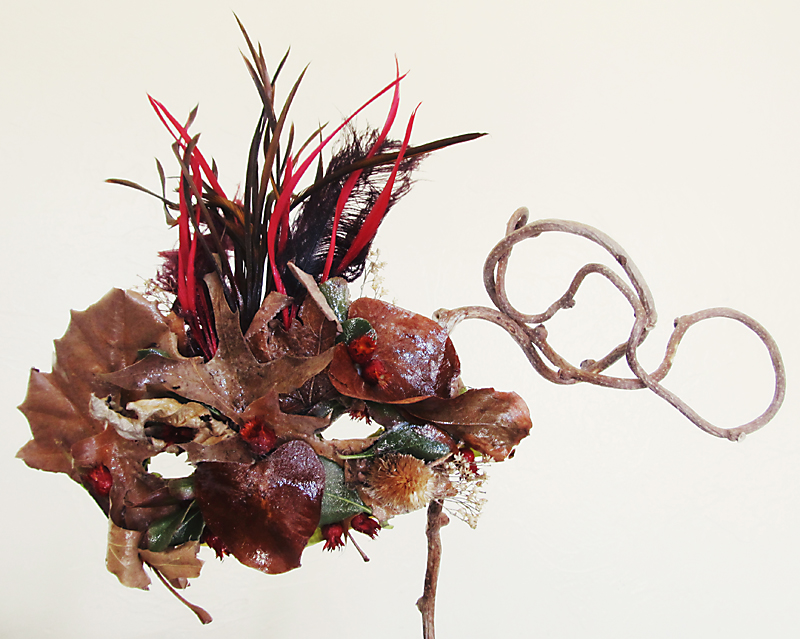
...And a pretty cool mask that I was extremely proud of! After all, it did take me over two hours to complete it!
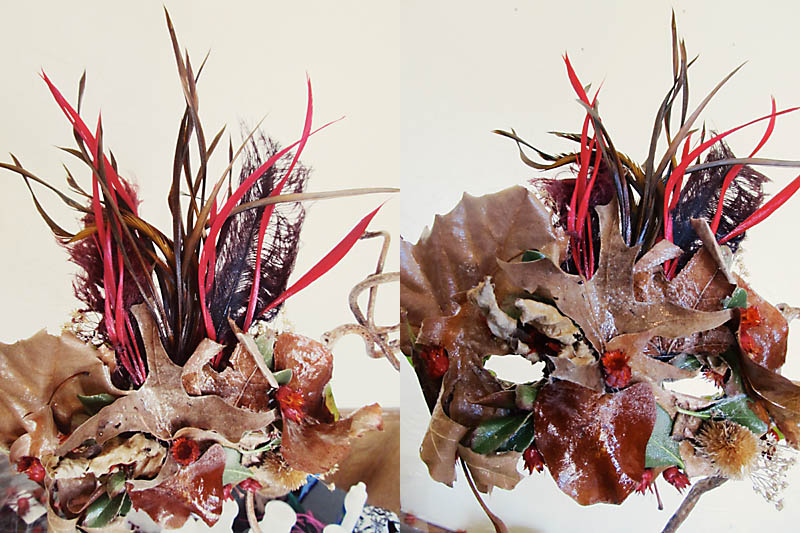
I covered the entire thing with lots of glittery hair spray {true story} to seal it and add some bling. :)
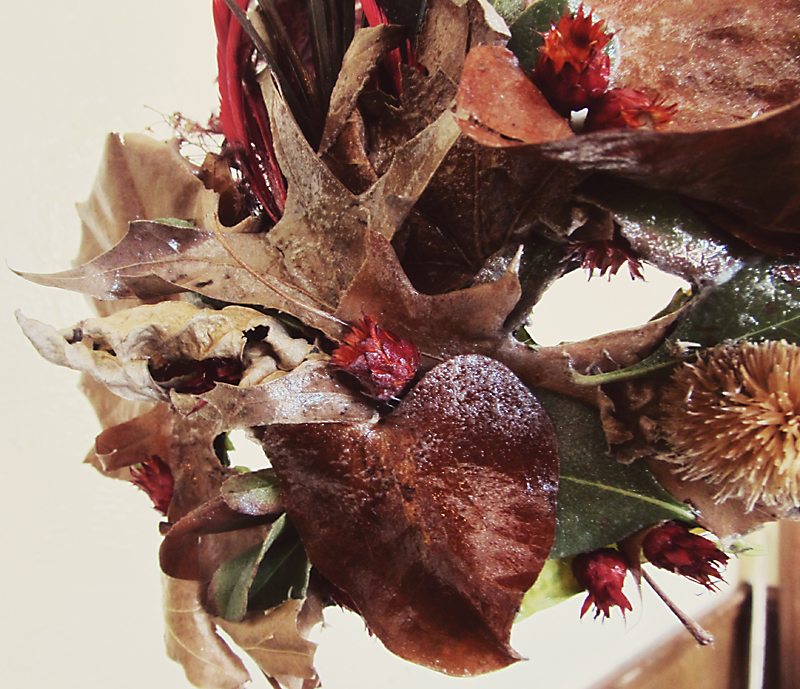
The awesome stick handle, the feathers, and the tiny little orange-y red dried flowerish things were from Hobby Lobby, but the rest was all scavenged by yours truly. :)
Tomorrow I will post some photos of my gorgeous friends and myself at the ball!
Happy Monday, friends! :)
~abi~
No comments:
Post a Comment
thank you for spending some time here in my corner of the internet. and thank you even more for chiming in with your comment!